

How to Get the Perfect Milk Texture When Steaming Milk at Home
Why Milk Texture Matters
Perfect milk texture is what transforms a average coffee into a cafe-quality experience. When steamed correctly, milk becomes silky, glossy, and sweet, complementing espresso without overpowering it. No matter your coffee preference, mastering milk texture is just as important as pulling a great shot.
The Basics of Steaming Milk
To get professional results at home, you need three things:
- Cold, fresh milk – Whole milk gives the richest texture, but alternatives (oat, soy, almond) can also work if you choose barista blends. For cows milk keep an eye out for Capo by Norco - it's our favourite.
- A stainless steel milk jug – The right size jug (usually 350ml–600ml for home use) helps control the whirlpool effect.
- A reliable steam wand – Found on most home espresso machines, though technique matters more than power.
Step-by-Step Guide to Perfect Milk Texture
1. Start With Cold Milk
Fill your milk jug to just below the spout begins. Cold milk gives you more time to introduce air before the milk overheats.
2. Position the Steam Wand
- Place the wand just below the surface of the milk, slightly off-center.
- Angle the jug to encourage a whirlpool motion (you want the milk to spin around the jug). If it get too high, simply angle your jug less so the tip of the wand is closer to the centre of the milk.
3. Stretch the Milk (Aeration)
Turn on the steam and keep the wand tip just under the surface until you hear a soft “chirping” or “tss-tss” sound. This introduces air into the milk and creates microfoam. If you hear it scream, you might have air trapped. Try pulling it out very slightly, then back in at the same depth. Do this quickly to prevent being blasted with milk.
- For cappuccinos → add more air. Meaning you need to keep your want just touching the milk.
- For flat whites/latte art → just a little air. Keep the wand about 1-2cm into the milk
4. Texture the Milk (Incorporation)
Once you’ve added enough air, lower the wand deeper into the jug. The whirlpool motion should spin the milk, folding in the foam until it looks smooth and glossy — like wet paint.
5. Watch the Temperature
Stop steaming when the jug is too hot to touch (around 60–65°C). Overheating scalds the milk, ruining sweetness and texture.
👉 A milk thermometer can help until you learn to gauge by touch.
6. Polish & Pour
Tap the jug on the counter to remove any bubbles and swirl to keep the milk silky. Pour immediately for best results. If you have adde too much air and created more foam, simply pour the top of the milk out.
Common Mistakes to Avoid
- Too much air: Creates big, frothy bubbles instead of smooth foam.
- Not enough air: Milk stays flat and watery.
- Wrong jug size: Too big or too small makes it harder to control the whirlpool.
- Overheating: Burns the milk and kills natural sweetness.
Which Milk Works Best?
- Whole milk (Capo or similar barista blends): Creamiest, best for latte art.
- Oat milk (barista blend): Excellent alternative, creates silky texture.
- Soy milk: Can split if overheated, stretch gently. A little trick is add a tiny bit of bicarb soda mixed with water to prevent splitting.
- Almond milk: Lighter texture, less foam.
Tools That Make It Easier
- Milk Jugs → Precision spouts for latte art.
- Thermometers → Take the guesswork out of steaming.
- WDT & Distribution Tools → Help ensure your espresso base is perfect before steaming.
👉 Check out Coffee Nerd’s milk steaming accessories to make silky-smooth milk at home every time.
Final Thoughts
Getting the perfect milk texture at home takes practice, but once you’ve mastered it, you’ll never go back to flat or bubbly milk. Focus on aeration early, whirlpool motion, and stopping at the right temperature — and you’ll be pouring café-quality lattes in no time.
Read more

Confused between a 58mm and 54mm machine and portafilter? Discover the key differences, which machines use each size, and how to choose the perfect fit for your espresso setup.
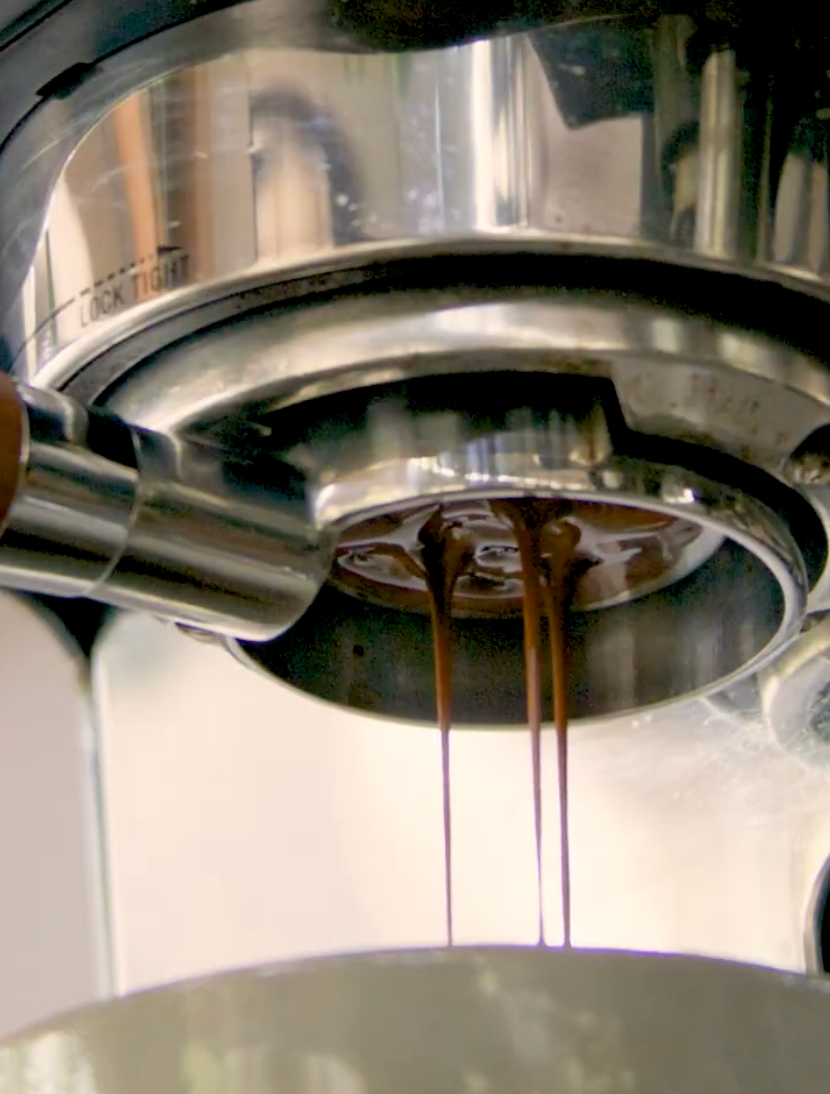
Buying a bottomless (naked) portafilter? Learn what to expect, why you might see spurting or erratic flow, what the visual cues mean, and how to fix common issues like channeling, seal problems or ...
Leave a comment
This site is protected by hCaptcha and the hCaptcha Privacy Policy and Terms of Service apply.