
What Is Espresso Channelling — And How to Fix It
You've dialled in your grind. You've tamped carefully. You lock in the portafilter, hit brew — and something still looks wrong. The flow is uneven, there's a thin jet spraying off to one side, and the shot tastes sour, hollow, or bitter despite your best efforts.
What you're seeing is channelling. It's one of the most common problems in home espresso — and once you know what causes it, it's surprisingly fixable.
What Is Espresso Channelling?
Channelling happens when pressurised water finds a weak spot in your coffee puck and forces its way through it rather than flowing evenly through the entire bed of grounds. Instead of extracting from every gram of coffee you've dosed, the water rushes through the path of least resistance — over-extracting the grounds in that channel (producing bitterness) while under-extracting everything else (producing sourness).
The result is a shot that tastes flat, sour, or harsh — and inconsistent from one pull to the next even when you haven't changed anything.
If you're using a bottomless portafilter, channelling is immediately visible: you'll see the espresso dripping unevenly, shooting off to one side, or splitting into multiple thin streams instead of a single, even flow. This is actually one of the biggest reasons home baristas switch to bottomless portafilters — it turns an invisible problem into an obvious one you can actually fix.
What Causes Channelling?
Channelling isn't caused by one single thing — it's usually the result of one or more weak points in your puck preparation. Here are the most common culprits:
1. Uneven coffee distribution
If your grounds are piled higher on one side of the basket before you tamp, that unevenness gets locked in when you compress the puck. The denser side creates more resistance; the thinner side gets channelled through. Distributing your grounds evenly before tamping is the single most effective way to prevent channelling — yet it's the step most home baristas skip.
2. An angled tamp
Tamping at even a slight angle creates a puck that's denser on one side than the other — identical result to uneven distribution. Always tamp with your elbow at 90 degrees and your wrist straight, applying perfectly vertical pressure. Check out our guide to tamping correctly if you're not sure about your technique.
3. Clumped or poorly distributed grounds
Coffee grounds — especially freshly ground — have a tendency to clump together, particularly in humid conditions. These clumps create air pockets in the puck that water immediately exploits. Breaking up clumps before tamping (using a WDT needle tool or a distribution tool) dramatically reduces the risk of channelling caused by this.
4. A damaged or worn basket
The stock filter baskets that come with most home espresso machines (including Breville) are often low quality — thin walls, inconsistent hole distribution, and poor tolerances. A precision-cut aftermarket basket provides a more even platform for water to pass through and is a worthwhile upgrade if you're still on the original.
5. Gaps around the basket edge
If your tamper is too small for your basket, it leaves a ring around the puck edge that water can bypass entirely. This is a very common issue on Breville machines where the basket is 53–54mm but owners are using undersized tampers. Always match your tamper size to your basket — see our tamper size guide for a full machine compatibility table.
6. Water hitting the puck too hard
Even a perfectly prepared puck can be disrupted by the initial burst of water from the grouphead shower screen. High-pressure water can blast a hole directly into the puck surface before extraction even begins — particularly on machines without a pre-infusion stage.
How to Fix Channelling: 5 Solutions
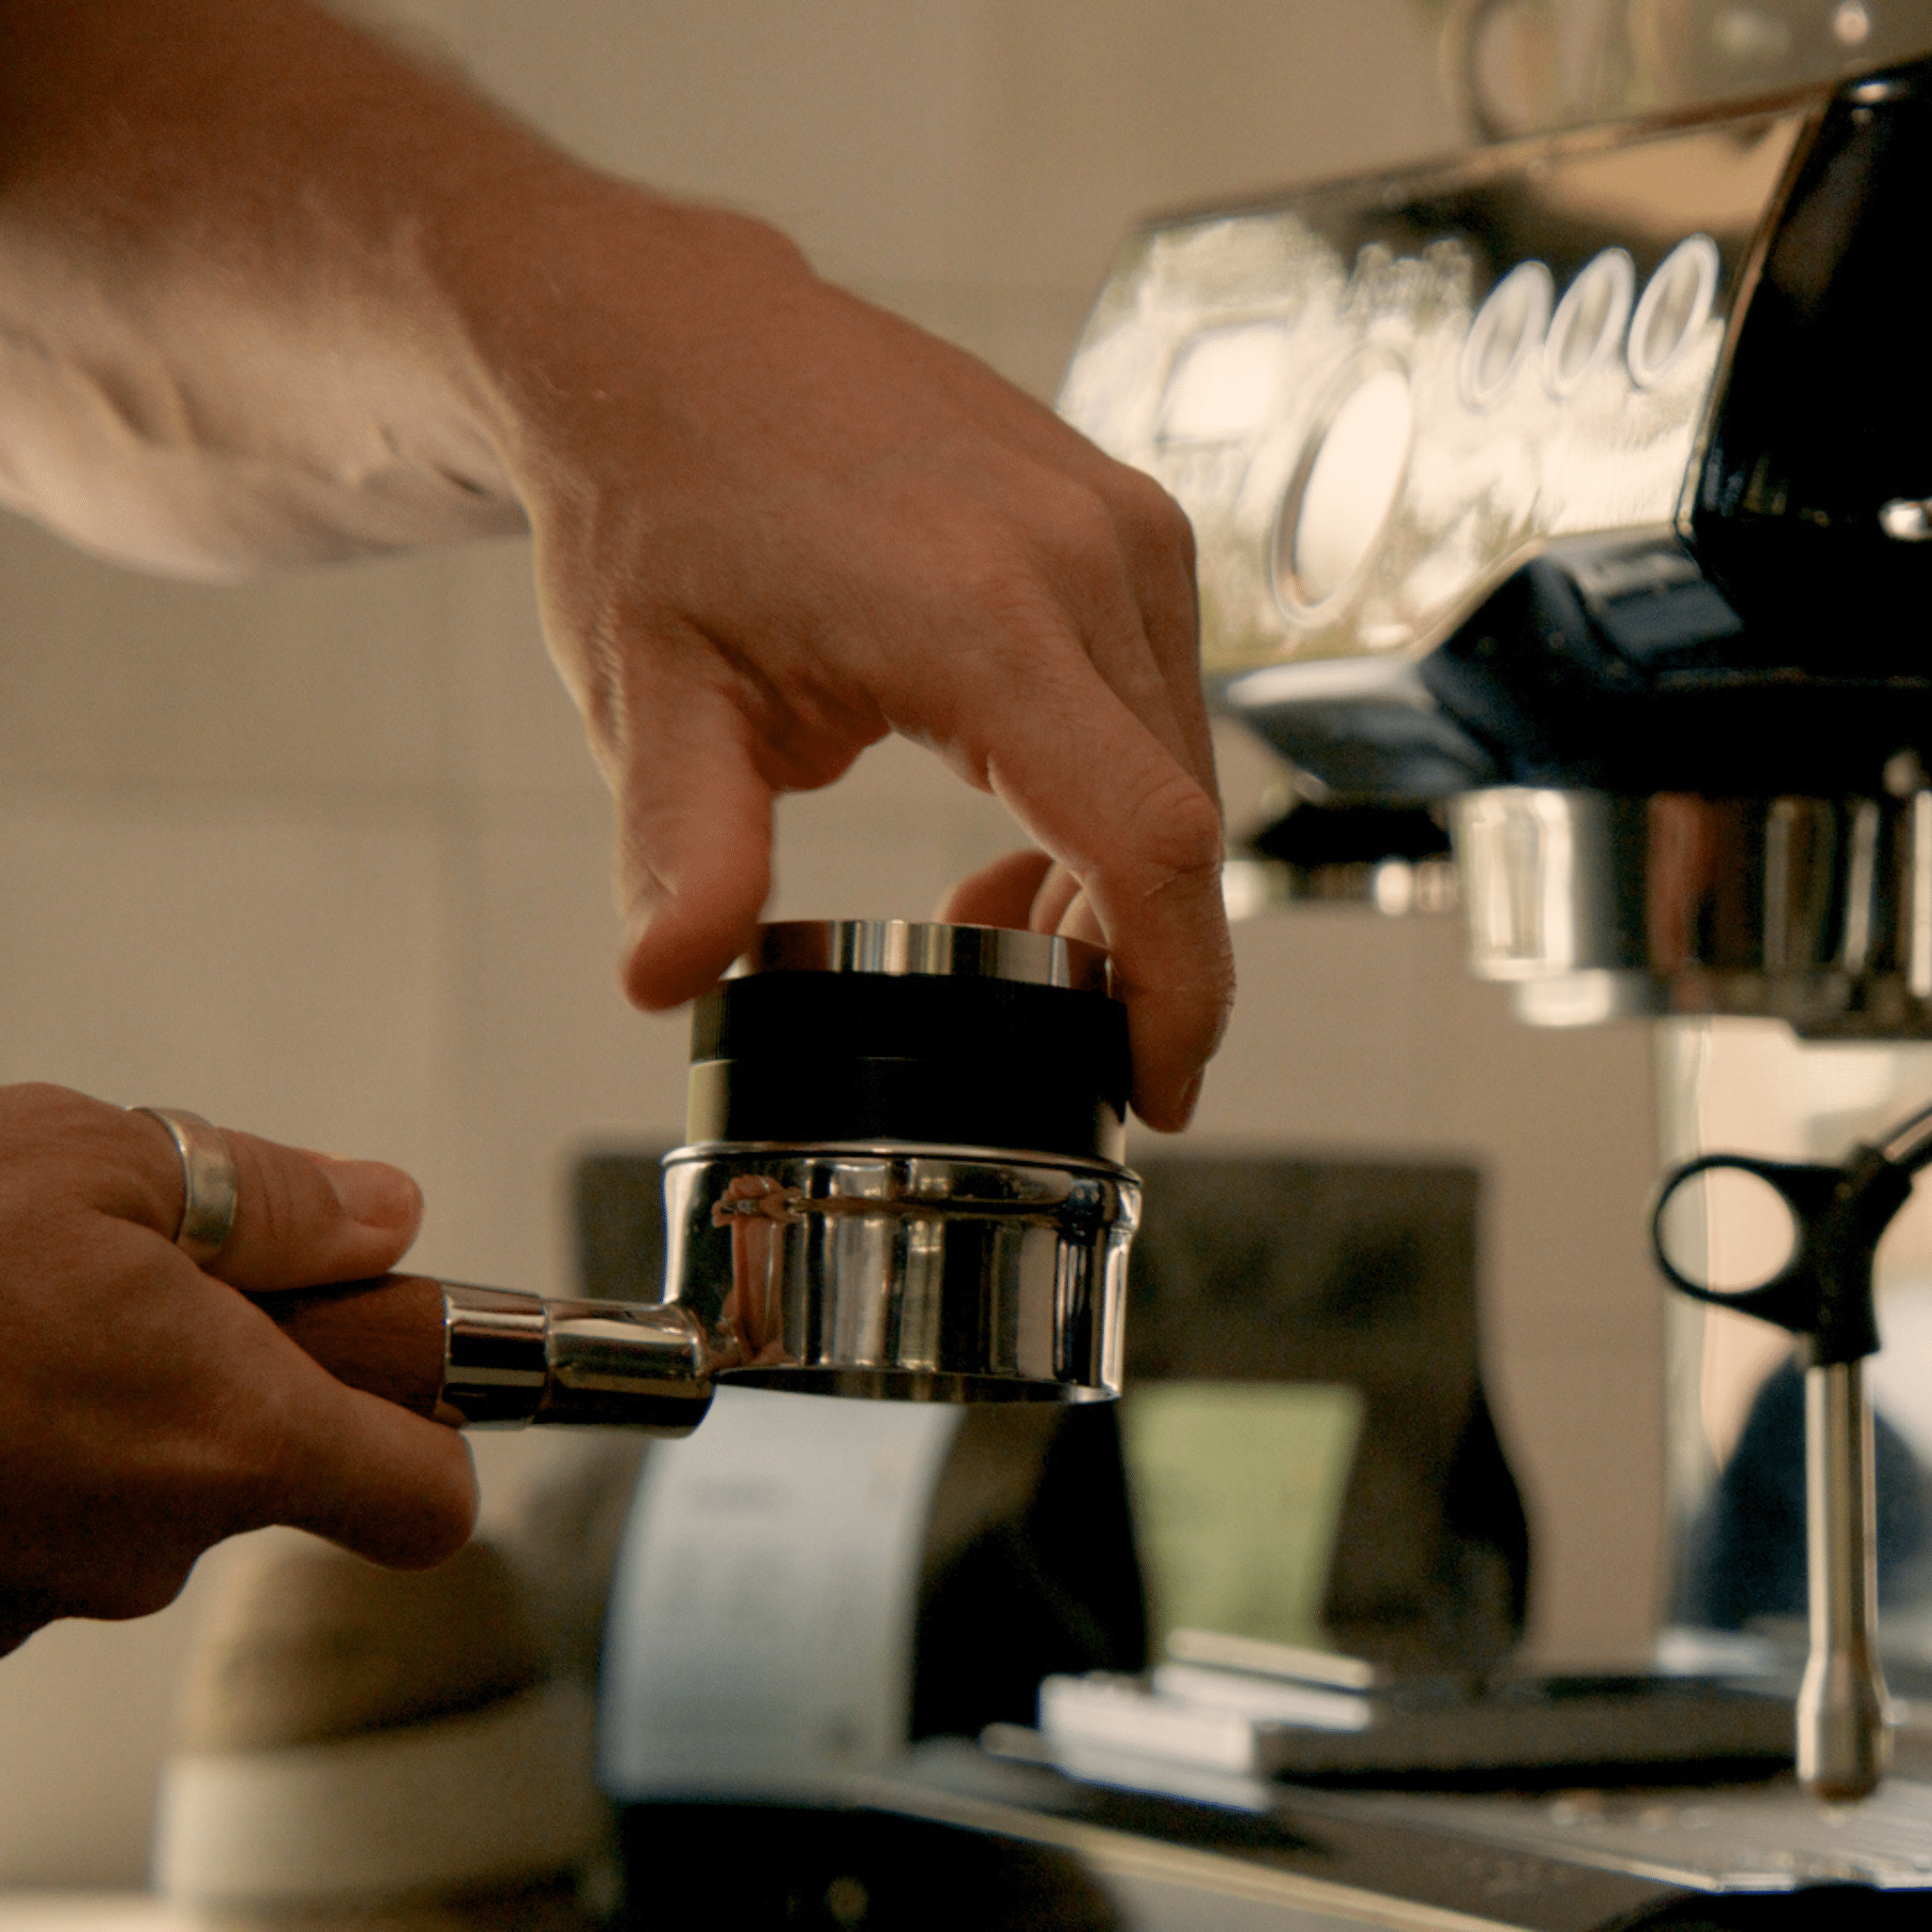
Fix 1 — Distribute your grounds before tamping
This is the most impactful change most home baristas can make. Before tamping, level and redistribute your grounds using a coffee distributor (leveller). Spin it across the surface of the grounds 2–3 times until the bed is perfectly flat and even. For extra clump-busting, use a WDT needle tool first, then the distributor, then tamp. This three-step puck prep workflow eliminates the two most common causes of channelling in a single routine.
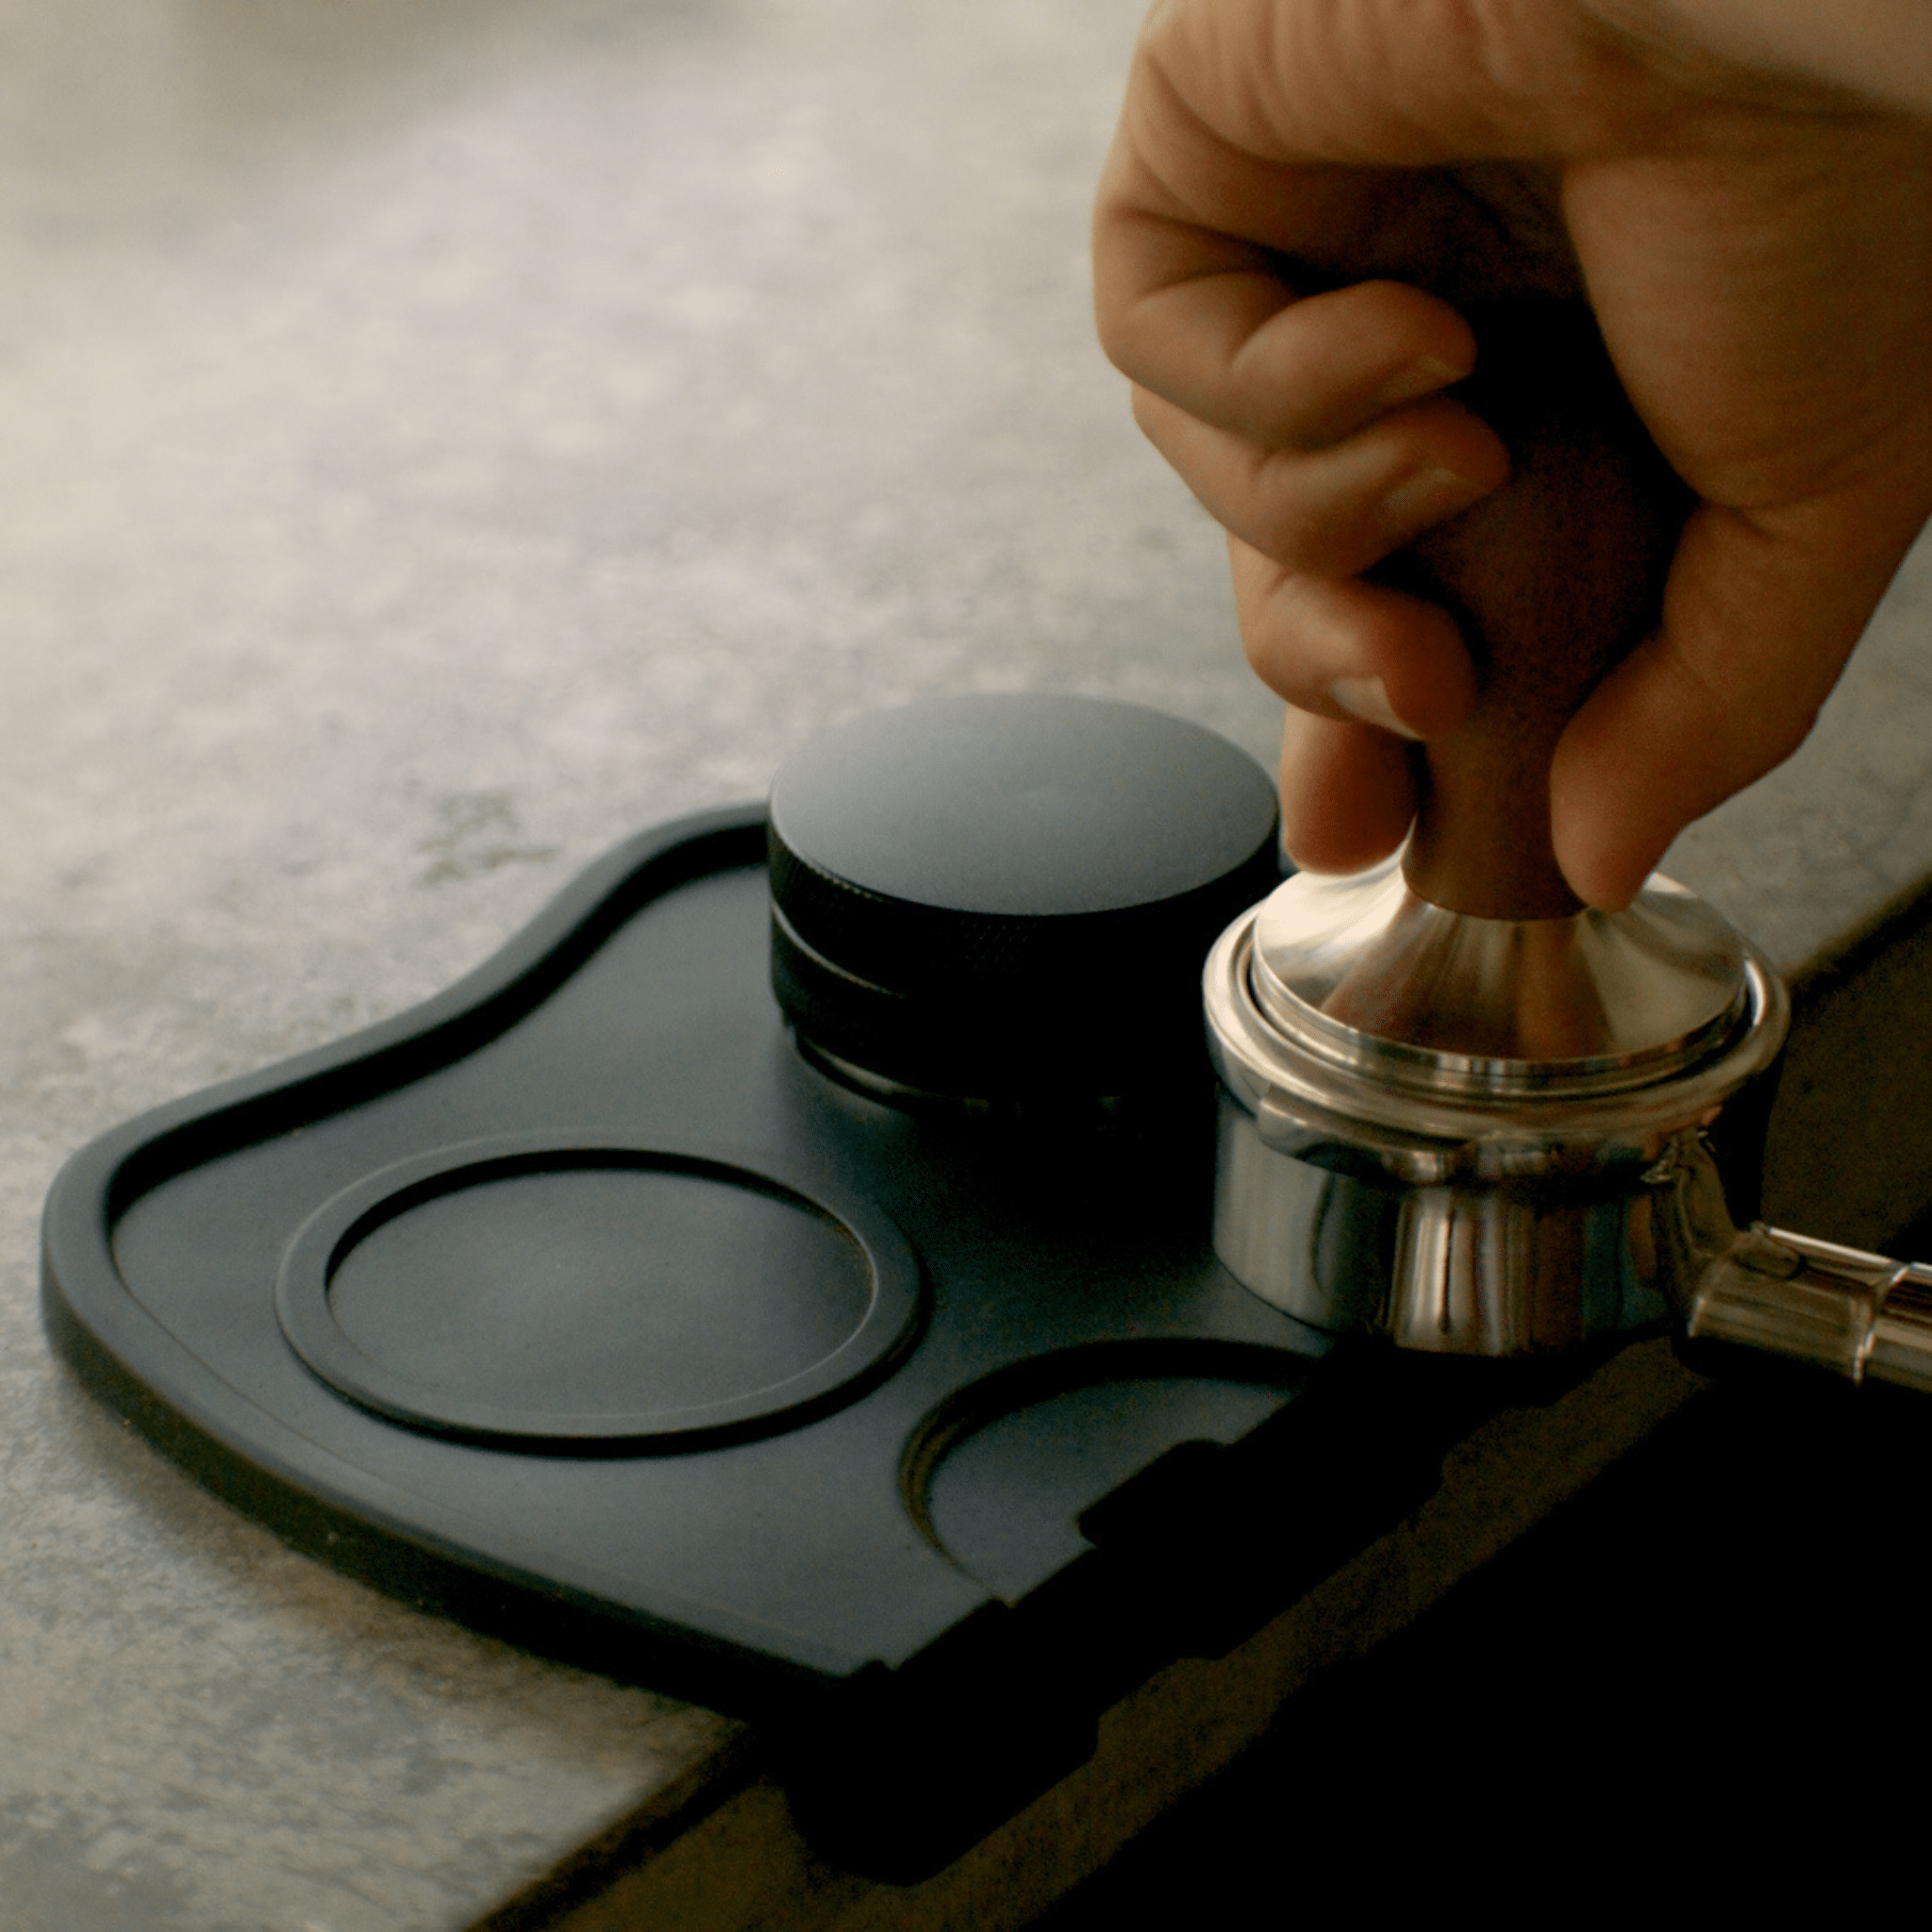
Fix 2 — Fix your tamp technique
Tamp vertically, consistently, and at the right size. If you're struggling to stay consistent, a calibrated tamper removes pressure as a variable — it clicks at a preset force so every tamp is identical. Combined with good distribution, a consistent tamp is usually enough to eliminate channelling entirely.
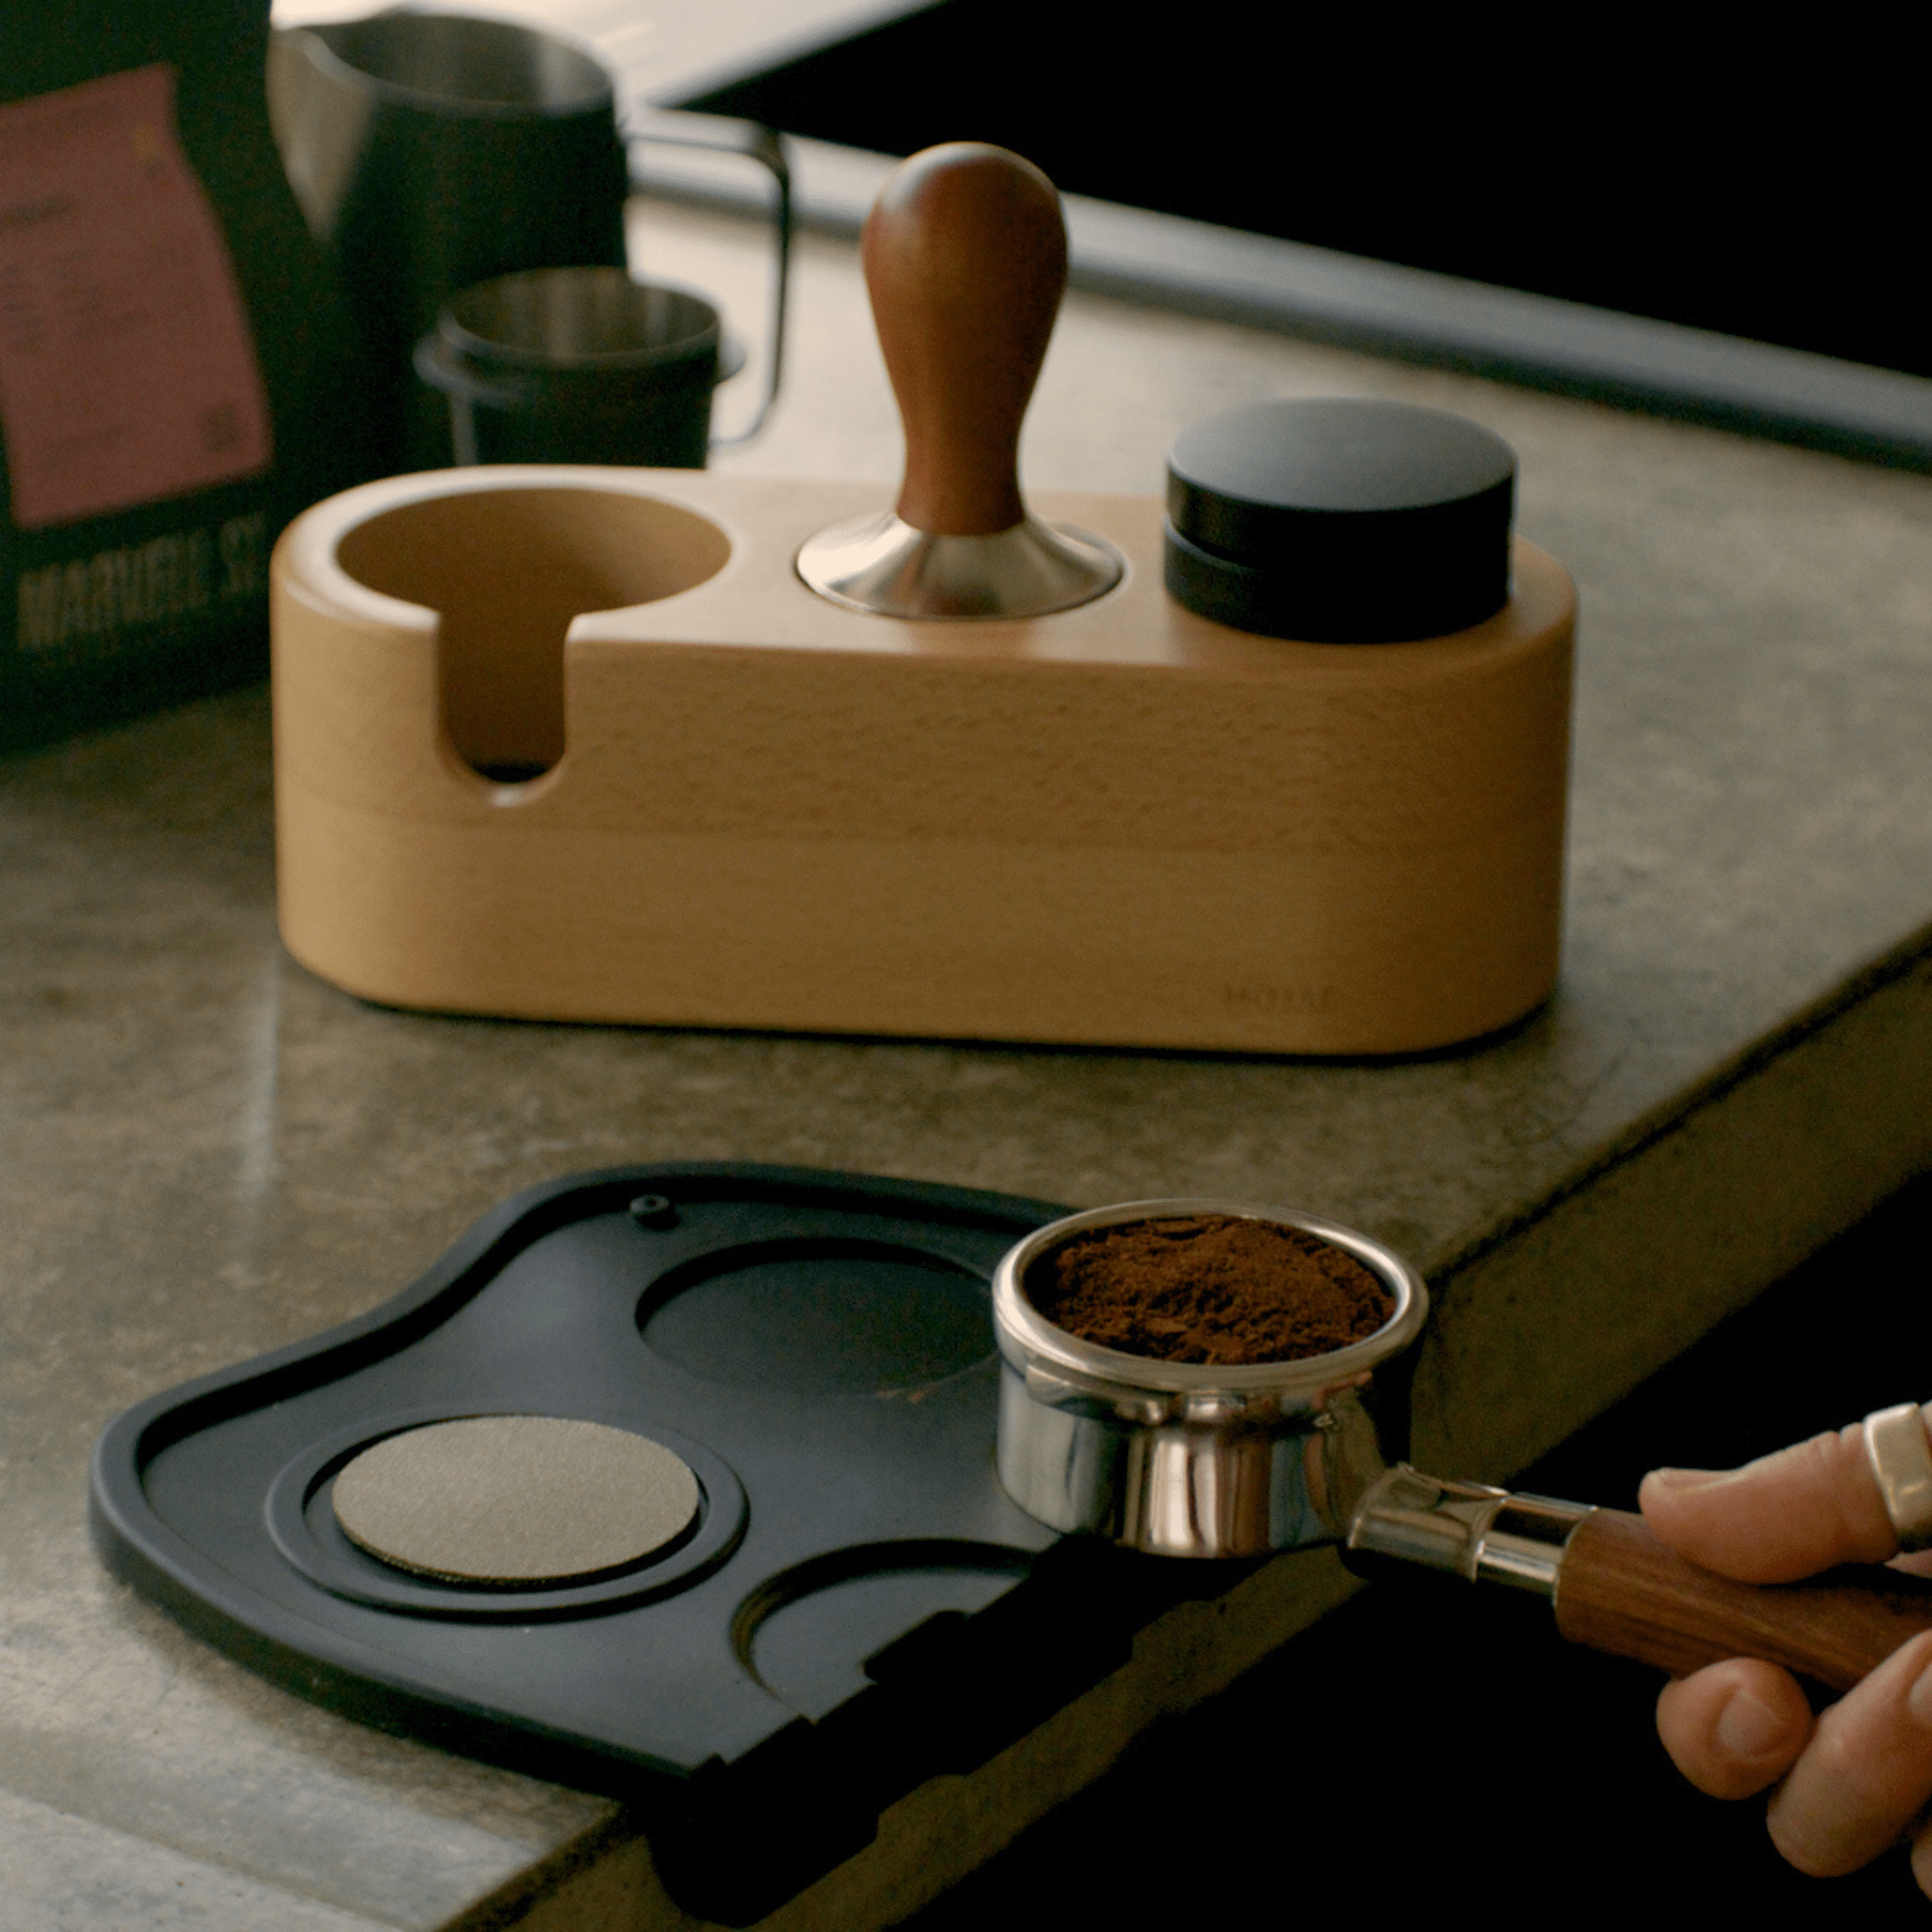
Fix 3 — Add a puck screen
A puck screen is a thin metal mesh disc that sits on top of your tamped puck before you lock in the portafilter. When the grouphead releases water, the puck screen diffuses it evenly across the entire surface instead of allowing a concentrated jet to blast into the puck. It's one of the cheapest and most effective upgrades for reducing channelling — and it also keeps your grouphead shower screen significantly cleaner.
Fix 4 — Switch to a bottomless portafilter
A bottomless (naked) portafilter won't fix channelling on its own — but it makes it immediately visible so you can actually diagnose the cause. When you can see exactly where the espresso is coming out and how evenly it's flowing, you get instant feedback on whether your distribution, tamp, or grind needs adjusting. Most home baristas who switch to bottomless find they fix their channelling problem within a few sessions simply because they can finally see what's happening.
Fix 5 — Check your grind size
If your grind is too coarse, the puck won't offer enough resistance and water will rush straight through — a form of channelling caused by speed rather than weak spots. If your shots are running fast (under 20 seconds) and tasting sour or watery, try grinding finer before changing anything else. Grind adjustment is always the first variable to check when troubleshooting espresso.
How to Diagnose Which Type of Channelling You Have
| What you see / taste | Most likely cause | Fix |
|---|---|---|
| Shot sprays to one side | Angled tamp or uneven distribution | Distribute first, check tamp angle |
| Multiple thin streams | Clumps or gaps in the puck | WDT tool + distributor before tamping |
| Shot runs fast and tastes sour | Grind too coarse or puck too thin | Grind finer, check dose weight |
| Shot looks fine but tastes inconsistent | Water hitting puck unevenly | Add a puck screen |
| Gap visible around puck edge | Tamper too small for basket | Upgrade to correct tamper size |
| One bitter shot, one sour shot, no changes made | Inconsistent tamp pressure | Switch to calibrated tamper |
The Best Channelling Prevention Routine
The most reliable way to eliminate channelling isn't a single fix — it's a consistent puck prep workflow that removes each variable one by one:
- Dose — grind directly into the portafilter (18–20g for a double shot)
- WDT — use a needle tool to break up clumps
- Distribute — spin a distributor across the surface 2–3 times until the bed is level
- Tamp — vertical, consistent pressure with a correctly sized tamper
- Puck screen — place a puck screen on top before locking in
- Brew — aim for 25–30 seconds, even flow, no spraying
Follow this every time and channelling becomes rare rather than routine. Each step is removing a variable — and the fewer variables, the more consistent the shot.
The Tools That Help Most
You don't need to buy everything at once. If channelling is your main frustration, here's where to start:
- First upgrade: A bottomless portafilter — so you can actually see what's happening during extraction. Instant diagnostic tool.
- Second upgrade: A coffee distributor or 2-in-1 tamper & distributor — addresses the most common cause of channelling at the source.
- Third upgrade: A puck screen — protects the puck surface from water impact and promotes even extraction. One of the best value accessories in the range.
Combined, these three tools address channelling from every angle — before the puck, during puck prep, and at the point of water contact. Most home baristas who adopt this workflow report a significant improvement in shot consistency within a few days.
Quick Summary
- Channelling = water finding a weak spot and rushing through it instead of extracting evenly
- Most common cause: uneven distribution before tamping
- Best diagnostic tool: bottomless portafilter — makes channelling immediately visible
- Best prevention: distribute → tamp → puck screen workflow
- Also check: tamper size, tamp angle, grind coarseness
Channelling is frustrating — but it's also one of the most solvable problems in home espresso. Once you've identified the cause and addressed it, you'll notice your shots becoming more consistent almost immediately. And once consistent, they get a lot more enjoyable to dial in.
Read more
How to Tamp Espresso Correctly: The Home Barista Guide
Everything you need to set up a home espresso bar in 2026. Covers machines, must-have accessories, budget guides and what to buy first. Australian guide.
Leave a comment
This site is protected by hCaptcha and the hCaptcha Privacy Policy and Terms of Service apply.